Pain Free Fitness: How to Exercise Without Getting So Sore

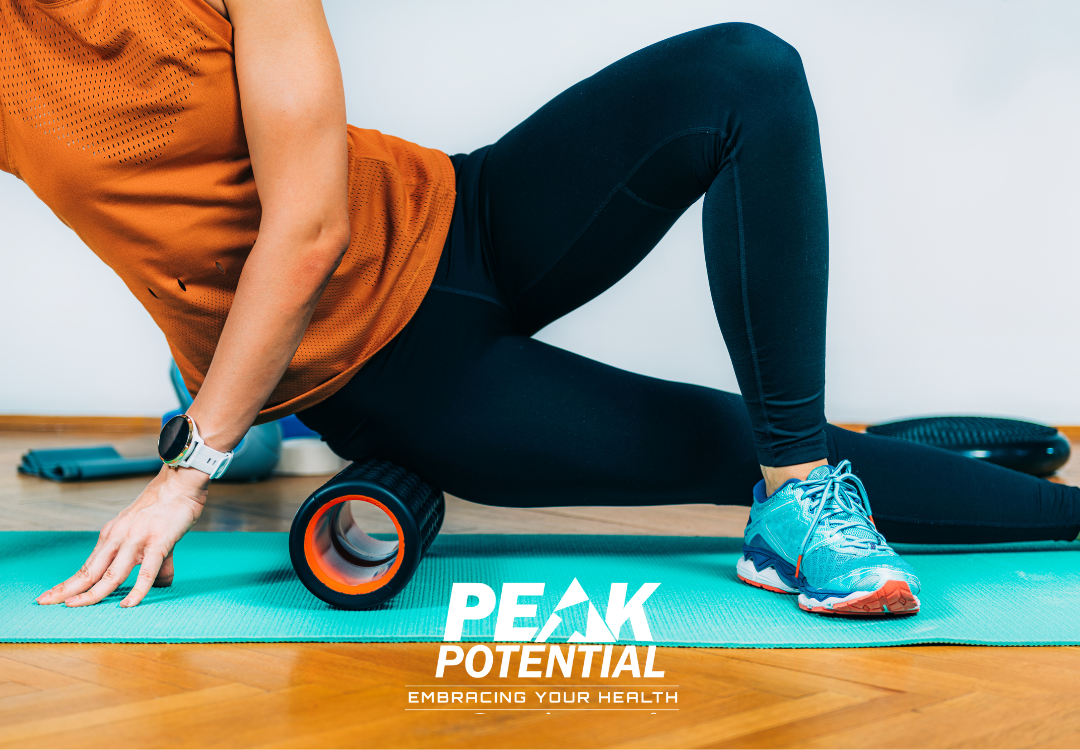
woman foam rolling for muscle soreness

You walk out of the gym with pride after completing a new or challenging workout, but find yourself barely able to walk the next day.  It is not uncommon to feel strong today and then struggle with pain and stiffness a day or two later.  However, it is possible to experience pain free fitness and we are here to teach you how to exercise without getting so sore.

First, let’s define what you are experiencing. These symptoms are called delayed onset muscle soreness (DOMS). The cause if frequently debated but our best research shows the discomfort comes from microtears in the muscle resulting in inflammation.  This response by the body can cause decreased range of motion, muscle aches, joint stiffness, puffiness, and even pain (especially trying to go down stairs after leg day).

Knowing why this happens allows us to better prevent and treat the problem.  There are simple steps you can take before, during, and after your workout to achieve pain free fitness.

What to Do Before Your Workout
  • Drink Water. Staying hydrated before, during, and after your workout will decrease cramps and your risk for injury.
  • Eat Protein.  Amino acids from protein are the building blocks of muscle.  By consuming foods high in protein you are giving your body what it needs to rebuild.
  • Warm Up. Before your workout, perform some dynamic stretching to prevent those microtears from turning into greater damage.  Cold tissues are more vulnerable to injury.
What to Do During Your Workout
  • Correct Form. Consult with a personal trainer, work with a physical therapist, or watch trusted trainers online to be sure your form is accurate for each exercise.
  • Pace Yourself. Overexertion leads to the greatest discomfort.  The only way to improve your fitness is to challenge yourself, but be sure to add to your workout gradually.
  • Static Stretching. End your workout with slow static stretches that expand your range of motion while your muscles are warm. It’s ideal to add some deep breathing.
What to Do After Your Workout
  • Keep Moving. You might sit at a desk or be tempted to hit the couch the rest of the day, but this will just make DOMS symptoms worse.  Take short walk breaks and consider use of a Thera gun or foam roller to decrease muscle tension and improve circulation.
  • Replenish Electrolytes. Your body requires electrolytes, not just water, to keep tissues well hydrated and prevent cramping.  Be sure your formula doesn’t include artificial ingredients and sugar that will add to inflammation (here is our favorite Rehydrate).
  • Sleep Well.  Stick to a consistent bedtime routine and aim for 7-9 hours of sleep each night.  This is the time your body does it’s best repair work and sleep deprivation can actually make your muscles weaker.
What the Pros Do
  • Contrast Showers. The pros will alternate between an ice bath and sauna, but similarly you can do contract showers alternating between moderately hot and cold water.
  • Supplement Wisely.  There are resources your body needs to heal and recover optimally and with less discomfort. This may include antioxidant support, omega 3 fish oil to decrease inflammation, or my favorite creatine monohydrate for muscle rebuilding and resilience.
  • Increase Oxygen. Every cell of your body needs oxygen to heal.  By delivering more to the area you can speed up the healing process and decrease pain.  Professional athletes often utilize Hyperbaric Oxygen Therapy to reach peak performance (learn more about HBOT).
Try a few of these strategies and let us know how they work for you.

As always, it is important to distinguish between muscle soreness and injury that may require medical attention.  If pain is sudden or severe while exercising, or if your symptoms last more than 3 days give your Doctor of Physical Therapy a call to have the problem evaluated (it’s easy to request a phone consult).

We are here to help you build muscle and stay fit without experiencing muscle pain. Listen to your body, respect it’s limits when necessary, and never hesitate to ask for help in order to lead an long and active life.

If you need a more personalized approach to recovery, or don’t know where to start on your fitness journey, Fitness & Nutrition Genetic Testing with our Integrative Health Coach is the ideal roadmap.

Expert Tips to Recover From Over Exercising

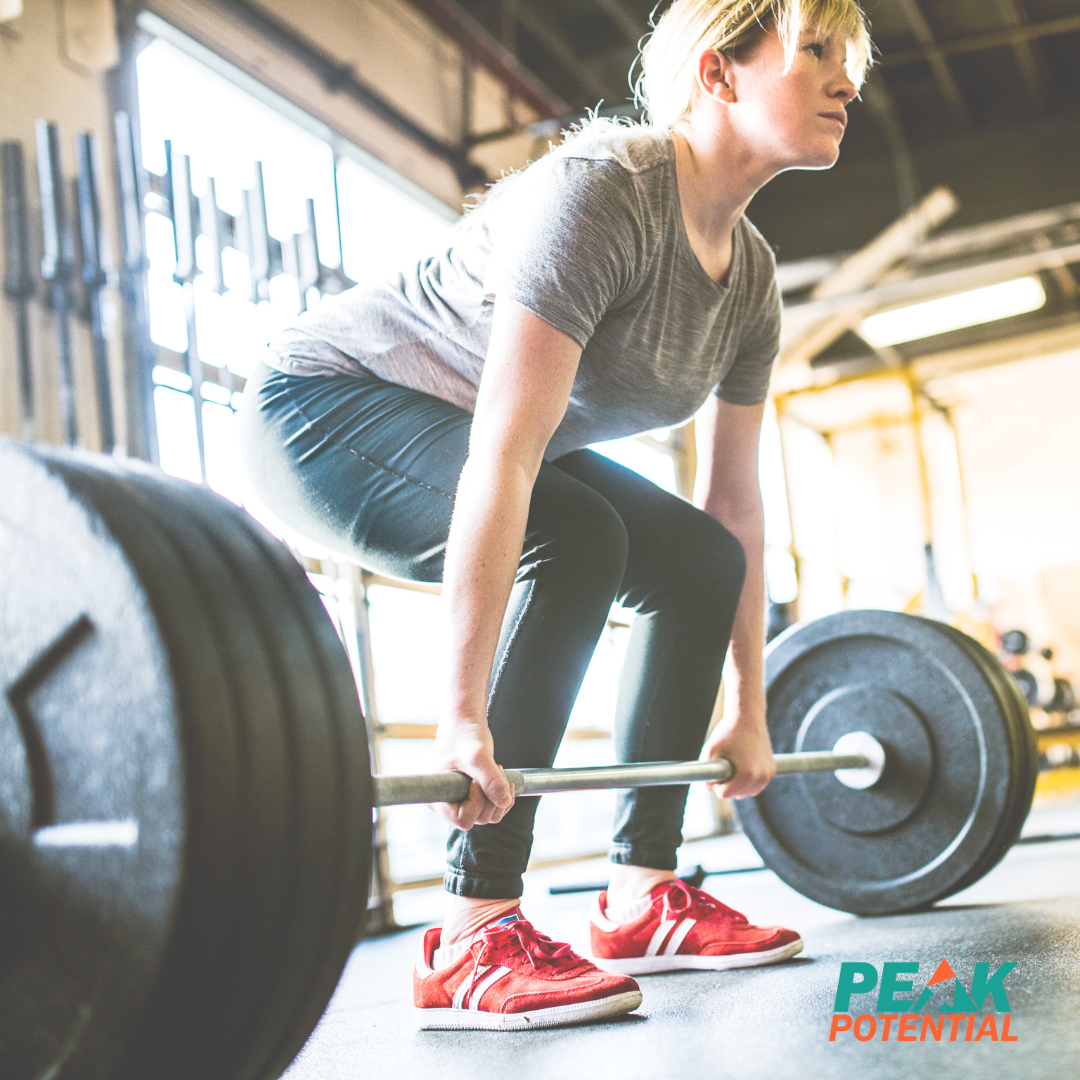
woman lifting weights

I know you may be zealous to start this year with a new or upgraded fitness routine.  First, let me give you a virtual high five. I’ll also share some expert tips to recover from over exercising, because it’s likely to happen if you continue toward your goals.

Over two decades ago when I started my career in health and fitness I would have told you exercise is always good for you. Then I saw the other side.  I saw the injury, the overuse, the burn out when clients took a good thing too far. Pushing yourself beyond your limits can cause fatigue and injuries and even suppress your immune system.

The good news is, you can continue to exercise, stay fit, and reach new goals for your body at any age or stage of life.  However, it requires being intentional about two things – techniques  to prevent overtraining and strategies to help you recover.  If you are feeling sore during or after your workouts, the steps I outline below are critical to staying in the fitness game long term and reaching goals you may have never thought possible.

First, we must prevent overtraining.
  1. Maintain Consistency. Gradual conditioning is the best way to prevent injury.  Consistency allows your body to be prepared for the activity you are performing and helps you avoid weekend warrior syndrome.  

  2. Vary Your Routine. Varying the activities you perform also allows your body to adapt to new stressors and let other parts of your body have a little rest. It’s the best way to maintain consistency with exercised while not over training. 

  3. Stretch Daily. Take time for dynamic stretches before a workout to warm up your body.  Static stretches are best at the end of a workout to regain muscle length, increase range of motion, and support recovery. 

  4. Clarify Your Priorities. Make exercise a priority in you agenda each week, but don’t let it take over.  Maintain balance with spiritual, relational, and mental health supporting activities for overall wellbeing.  Do not sacrifice health in any one area for another. 
Then we must optimize our bodies ability to recover.
  1. Allow your body to rest. There are lots of tricks that provide temporary relief for sore muscles, but rest is the best medicine of all. Your body uses the time in between workouts to heal and become stronger. Deep sleep is the time your body makes the most progress toward recovery.
  2. Learn about delayed onset muscle soreness. Feeling sore for a day or two is normal as your muscles adapt. Our genetics play a role in how long it takes for our body to make these adaptations. By knowing how much time and what resources your body needs to fight soreness, you can make the most of your exercise efforts. Learn more about Fitness DNA testing HERE.

  3. Stay hydrated. Water and electrolytes speed up the recovery process. The fluids flush waste products out of your muscles and make it easier for your blood to circulate. Sodium, potassium, and magnesium supply your body with the resources it needs make repairs.

  4. Get a massage. Massaging sore muscles provides quick relief and may even make them stronger. Some studies show that massage reduces inflammation and helps cells take up more oxygen. This may be in the form of massage therapy, foam rolling, or use of a Thera gun device.

An active lifestyle keeps you looking and feeling better. Most experts agree that just 30 minutes of moderate exercise at least 3 days a week is the best place to start. If you have any questions about how much exercise is safe for you, request a call from a Doctor of Physical Therapy to discuss developing a safe regimen that will keep you fit and free from injury.

REQUEST A CALL

Increasing Protein to Meet Spring Health Goals

Preparing protein

As winter comes to an end, we want to move more and feel renewed in our body.  That makes spring an ideal time to focus on optimizing your fitness, performance, and health. No matter your age, stage, or season of life, we are going to challenge you in increasing protein to meet your spring health goals.

If you are like most of our clients, you want to get stronger, move better, lose body fat. Your goal may be to say good-bye to a nagging health condition (perhaps an autoimmune disease, osteoporosis, pre diabetes, or long COVID). When we sit down to discuss these goals, we often find that clients are not meeting their minimum protein requirements. Increasing protein is necessary to fuel the body in achieving these goals.

Why do we care about protein intake as physical therapists?

Protein is required for muscle growth and repair.  Subsequently, healthy muscle mass is required for a healthy metabolism, bone mass, blood pressure and more. In addition, a lack of protein can result in an impaired immune system and increased inflammation.

You may be low on protein because you just don’t consume enough quality protein.  It may be that your need is higher than average because you are healing or under a lot of physical stress. Or you may not be able to break down or absorb the protein you are consuming adequately. In any of these cases, the result will be a difficult time healing from injury, illness or workouts.  You may have not have levels of hormones and neurotransmitters necessary to feel your best, produce energy, stabilize your mood, build muscle, and lose body fat.

Can we agree that one of your spring goals should be meeting your body’s protein needs? Now, let’s figure out how to do that in the midst of a busy schedule.

1. Start Your Day with Protein.

Your first meal of the day is important for your metabolism, sustained energy, and to curb cravings for less healthy foods later in the day.  A well balanced meal also sets the stage mentally for making healthy choices as the day goes on.

2. Space your intake throughout the day.

The body can only process so much protein at one time, so there is no reason to eat your days worth of protein at dinner. Instead of focusing only on your daily protein goal, be sure you are getting adequate amounts at each meal.  For most people this will be 20-30 grams.

3. Drink plenty of water, but not with your meals.

Hydration is important to keeping the body – especially digestion and detoxification – running well.  However, drinking too much water with your high protein meals can decrease the digestive enzymes in your stomach necessary to break down the food properly for absorption.

4. Be mindful with your protein.

Hitting macronutrient targets is important but if you aren’t absorbing the nutrients you are consuming it doesn’t do you much good.  The biggest trigger for gut health issues and poor absorption is stress.  So focus on enjoying your food and take a few deep breaths before your meal if you feel like your mind is racing.

5. Read food labels.

Marketers know that “protein” is a buzzword, but you must check the label for quantity and quality.  That protein bar with 5 grams of protein is not a “high protein” snack.  In addition, you should avoid poorly absorbable or highly inflammatory proteins like casein and soy.

6. Supplement with protein powders.

When you need a quick protein boost a shake may be your best option.  Check labels for artificial ingredients, flavorings, and sweeteners that can cause more harm than good.  Be sure the product has at least 20 grams of quality protein (from multiple sources like hemp and rice if vegan and grass fed if a whey protein).

These are six simple ways you can optimize your protein intake and better absorb it.  Remember, if you are recovering from an illness or injury, training hard, or over the age of 40, you may need more protein than you think.  The RDA (recommended daily allowance) does not take into account these instances of increased need or situations where absorption may be altered.

If you are interested in identifying your unique protein targets to meet your health goals, Integrative Health Coaching may be your next best step. Schedule a Free Discovery Visit to find out if a personalized plan and support through coaching is the solution you are searching for.  Click HERE to reserve your spot.

Is Your Youth Athlete At Risk For Injury? 5 Simple Self Tests

Is Your Youth Athlete at Risk for Injury

Do you have wonderful memories as a youth athlete?

Maybe it was church T-ball, Collierville Rec soccer, the first tackle football game, cheering on your classmates, or trying out for a varsity team.

We want our own children to experience this same joy and excitement. The physical, emotional, and social benefits of participating in organized sports.

There are many reasons to encourage our children to get involved in athletics, but it’s wise to also help them be both prepared and safe. A study from August 2013 found that every 25 seconds a youth athlete suffers an injury severe enough to require an emergency room visit. As parents, this shouldn’t scare us but move us to be proactive.

What about the sports physical?

The medical clearance your child’s school or organization may require rules out health risk only.  It’s important for preventing life threatening medical emergencies, but will not determine risk for injury of the soft tissue (muscles, tendons, ligaments).  Furthermore, these types of injuries or faulty movement patterns in our children can have lasting effects appearing as pain, injury, and arthritis in adulthood.

The good news is we can measure risk and take action now instead of waiting for problem to arise. When we identify the faulty repetitive movement patterns that lead to injury early, a correction is often simple. This not only improves performance in the present, it prevents a future of degenerative joints, ligaments and spinal discs.

How can we help them perform at their absolute best, while also protecting them from damage to their growing bodies?

Fortunately, there are some quick tests you can perform at home to see if their strength, agility, and movement is ready for their athletic season.

1. Squat

Start by standing with feet shoulder width apart.  Squat down as far as possible.  The upper legs should be parallel to the floor and the heels should be able to remain flat on the ground.

2. Balance with Eyes Closed

Stand on one foot with your hands on your hips.  Close your eyes and hold this position for 30 seconds on each side. This should be done without leaning or loss of balance.

3. Toe Touch

To see if lower body muscles are ready for quick starts and heavy lifting, hamstring length should be tested. Start by putting your feet together, then bend over and touch your toes. You should be able to do this without rounding your back.

4. Push Up

Start by lying face down on the floor.  The hands are placed beside each shoulder.  As you push up, the back, hips, and knees need to be in a straight line.

5. Overhead Reach

With your head, back and heels against a wall and arms straight in front, lift your arms overhead and touch the wall with your thumbs. If your lower back arches or you can’t reach the wall, there are likely movement restrictions in the back or shoulders.

Further testing is indicated if the athlete is unable to complete any of these tests correctly (or if discomfort or stiffness is present). The next step is a functional movement screen. Our specialty trained therapists use this tool to identify risk factors for ankle, knee, hip and shoulder injuries. In addition, if they identify an increase in risk factors, corrective exercises can be prescribed to mitigate the risk.

Is all of this really necessary for my healthy child?

According to a 2016 review of the literature, youth athletes especially, due to their developing musculoskeletal and neuromuscular systems should undergo pre-participation musculoskeletal screening for identification of movement limitations.

The amazing thing with children is the corrective strategies we implement tend to clean up the problem FAST. Generally, no time is lost from their sports training program or competition. In addition, they can continue on stronger and performing at a higher level than before.

To inquire about a functional movement screen with a Doctor of Physical Therapy for you or your child, click HERE to fill out a short form. You will hear from us soon or you can call our office at 901-316-5456 to get your questions answered.

*Functional Movement Screens for Youth Athletes are performed in person at our Collierville location, as well as via telehealth.

Top 10 Foods For Exercise Recovery

Man and Woman Sitting, Talking at the Gym

A little soreness with a workout is bearable. . . maybe even pleasant if it’s a reminder of how hard you worked the day before.  However, some aches and pains that are more intense or don’t seem to go away quickly enough. This can limit both your ability and motivation to train.

Many clients tell us they don’t take pain medication because of the side effects, they don’t have time for a massage, and the ice bath that the trainer recommended is just unbearable.  So, the question that follows is . . . how else can I help my body recover after I exercise so I feel my best and reach my goals?

The answer may be found in your refrigerator . . .  the foods you eat.

Not just post workout, but how you fuel your body on a regular basis. Your muscles and immune system must be ready to take the hit of training and bounce back with ease.

Continue reading

Do I Really Need to Stretch After My Workout?

I know we are all short on time and taking 10 minutes to stretch at the end of a gym session, long walk, or tennis game can seem like a waste.
We believe the gains made to improve our cardiovascular system, muscular strength, and agility are during the workout . . . right?
The truth is, strength and performance gains are made during recovery as your body rebuilds what was broken down during your workout.
And stretching is an integral part of the recovery process.
It improves blood circulation to deliver nutrients to the muscles that “feed” them as they recover.

Continue reading