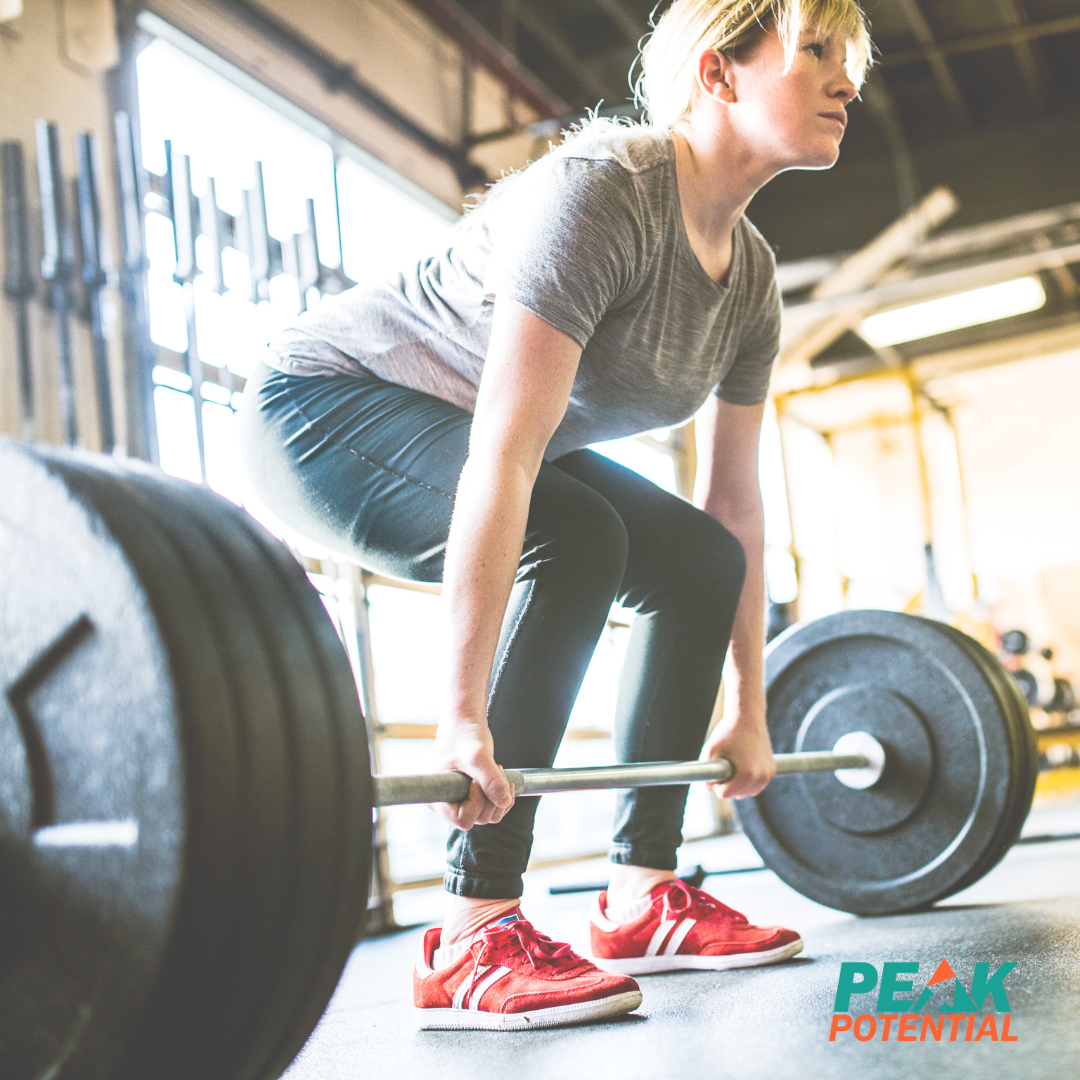
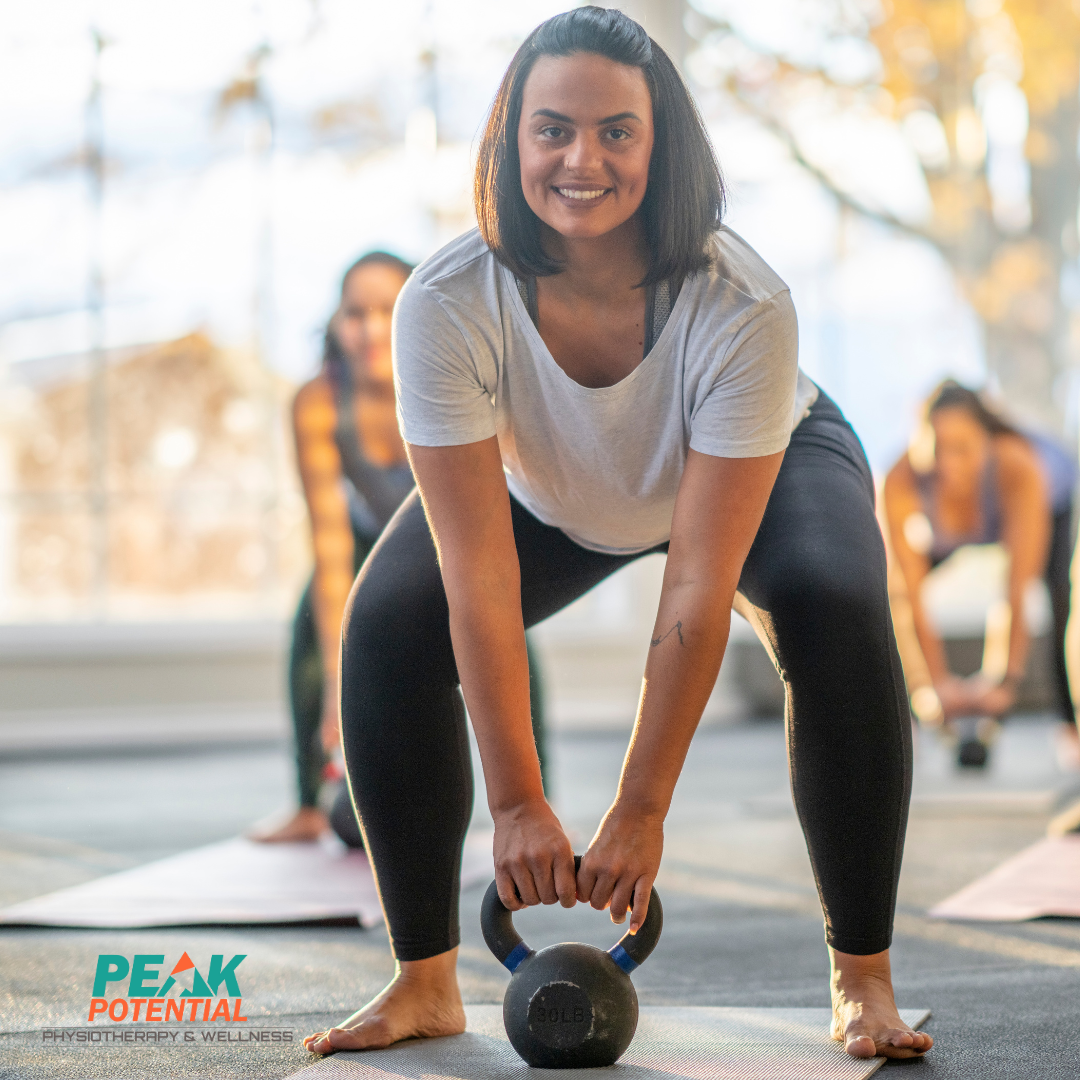
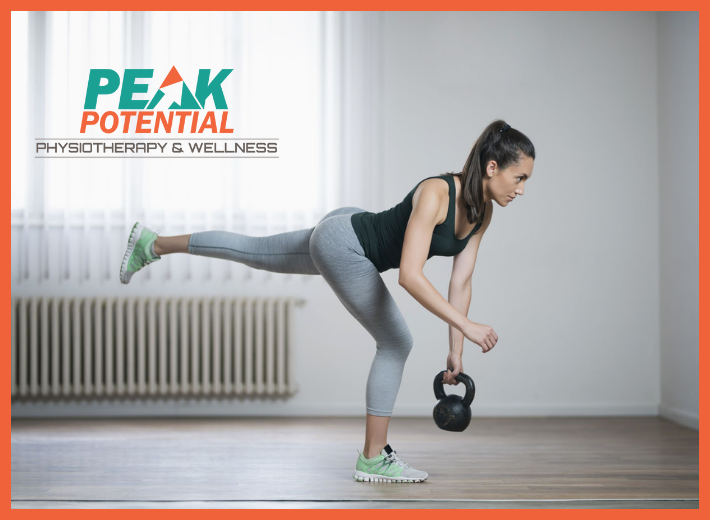
Lifting weights is about more than just looking good in a tank top, that muscle you gain has tremendous benefits to your life and longevity. I’m here to convince you that liftings weights will transform your health and you should start today.
It doesn’t matter your age, gender, or season of life. There are so many benefits, both physically and psychologically, from strength training that we should all be doing it. If you have never lifted weights consistently, you are really missing out.
Here are 10 ways that Lifting Weights Will Transform Your Health:
1. You Increase Strength
This is the obvious one, but it’s more important than you might think. After your mid 30’s you lose strength each year and it accelerates through each decade of life. If you want your future self to be healthy and independent you must start to put in the work to build strength now.
2. You Boost Your Metabolism
Lifting weights aids in weight loss and maintaining a health body composition. Building and maintaining muscle requires a lot of energy, so your body is using more calories even at rest when you have more muscle. Conversely, losing muscle means you are lowering your resting metabolic rate.
3. You Improve Mood & Memory
Pumping iron pumps more blood to your brain. Subsequently, memory and mental focus improve. It also causes the brain to produce “happy” chemicals that increase energy and optimism. In fact, a reduction in depression and anxiety is demonstrated in many weight lifting studies.
4. You Increase Bone Density
The fact that most women will experience an osteoporotic fracture in their lifetime has my 40 something self looking for ways to make my bones stronger. Putting a heavy load on your body on a regular basis is the best way to improve bone density. As the muscles you are working pull on the bones they are attached to, those bones also become stronger.
5. You Improve Posture
Do you slouch at your desk most of the day? Improving strength and muscle mass can help support your spine in an upright posture. In addition, as you train with resistance it will become easier to stand or sit for extended periods of time.
6. You Decrease Arthritis Pain
Strength training will not change the wear and tear that occurs in our joints over time. Science is still working on ways to do that. However, strong muscles surrounding a joint will decrease pain, stiffness, and slow down the progression of degeneration.
7. You Sleep Better
Resistance training is shown in studies to improve sleep quality. In addition, it’s easier to fall asleep when you are physically active during the day. But remember, it is important to avoid any type of training too close to bed time though.
8. You Stabilize Blood Sugar
Muscle is a storage tank for glucose and using your muscles help glucose be used most effectively. This prevents sugar from staying in the blood stream too long, increasing insulin production, and too much being stored in the liver. Studies show strength training increases insulin sensitivity and can decrease risk for type 2 diabetes.
9. You Decrease Inflammation
When muscles are used in strength training activities they produce myokines, a substance that helps counteract inflammation and boosts the immune system. Since low level inflammation is linked to a wide range of chronic health conditions, we shouldn’t pass up the anti inflammatory effects of exercise.
10. You Live the Life you Love
Having strong muscle and bone, power, and agility as we age allows us to continue to participate in the activities we love most. Whether that is traveling, pickle ball, gardening, golf, or chasing kids on the playground; strength training will give us the freedom to keep moving and keep living.
We encourage you to get started with a weight lifting routine today. If you don’t feel confident with resistance training or have an injury that you need to work around, get professional help to ensure you are safe and effective. Contact us today for a movement screen and a personalized anti aging exercise prescription. Inquire about availability of our Doctors of Physical Therapy HERE.
Lastly, go slow and enjoy the process. It can take a few weeks for your body to adjust to a strength training routine, but it won’t be long before you wonder why you waited so long to get started.
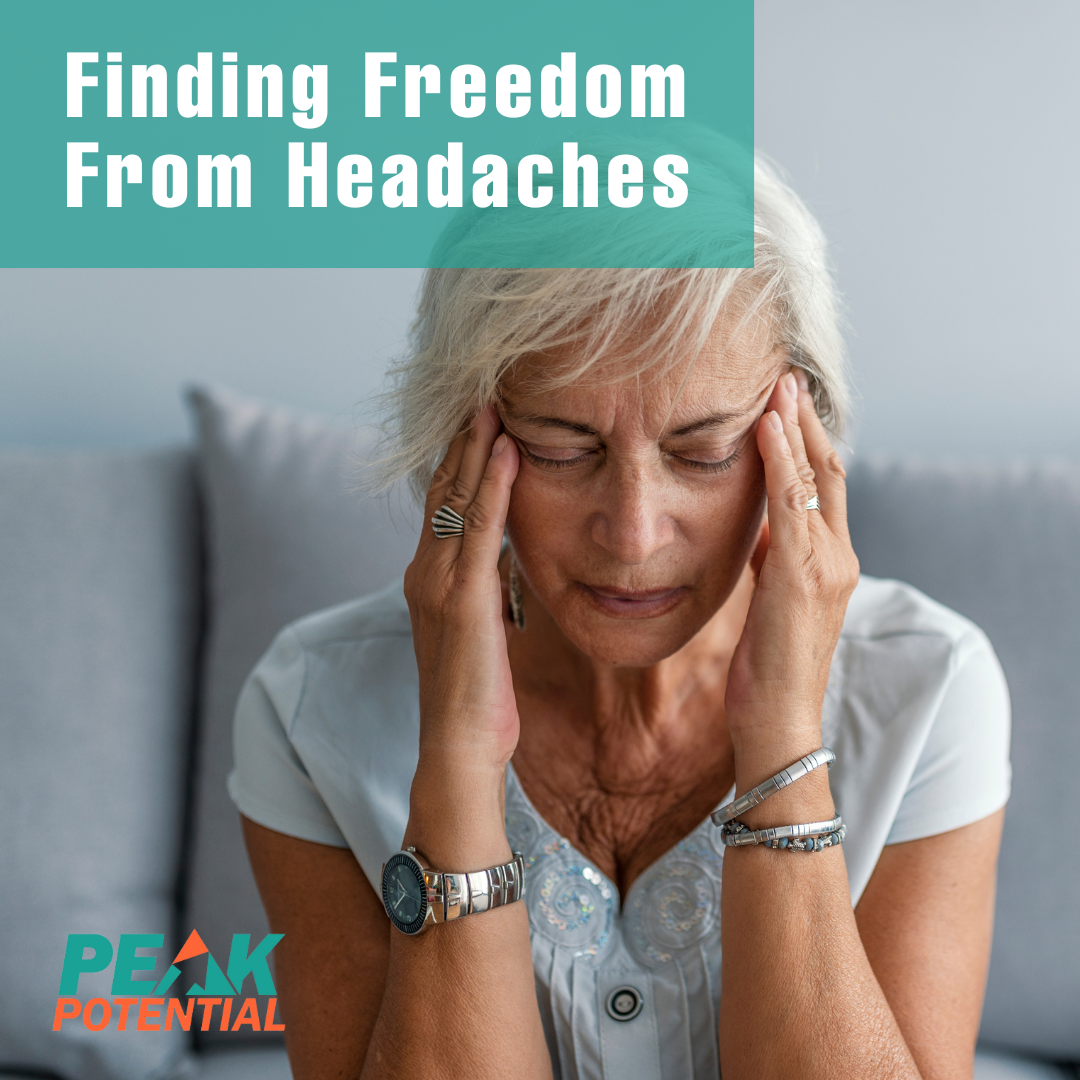
How often do you experience a nagging ache, stabbing pain, or intense pressure in your head?
An estimated 45 million Americans suffer from chronic headaches and many of these people are retreating from their daily lives due to pain. Others are trying to manage day to day by constantly popping ibuprofen or aspirin.
The problem with painkillers is that we are treating symptoms and are never getting to the root cause of the problem. And without treating the cause, the headaches keep coming back – and often more frequently.
How about we find a better, faster, and more permanent solution?
First, let’s talk about the different types of headaches you may be experiencing and then I’ll show you the plan to get to the root cause of the problem – once and for all.
Three Most Common Types of Headaches:
1. Migraines
These headaches are described as intense, throbbing or pulsing pain. They worsen with movement, include light sensitivity, and are sometimes preceded by an aura or tunnel vision. They generally last 4-72 hours, but the frequent reoccurrence of these headaches are what result in chronic disability.
2. Cervicogenic Headaches
This pain is usually just on one side and begins in the shoulder and neck then spread into the head. The pain is aggravated by movement and position changes and there is often tenderness to touch in the neck and upper shoulders.
3. Tension Headaches
Triggered by stress, fatigue, anger, or muscle tightness these types of headaches are experienced on both sides of the head. They are described as pressing or tightness they can last as little as 30 minutes or feel almost continuous.
Can you identify which type of headache you have most often?
In these three categories, 75% of the complaints are related to muscle tightness and joint stiffness putting pressure on the nerves in the neck. They are caused by muscle tension, spasm, and trigger points in the scalp, jaw, neck, and shoulders.
This pain can even radiate down the arm and into the hand resulting in a misdiagnosis of carpal tunnel syndrome. Luckily, there is a lot we can to do in both treatment and prevention to avoid side effects of, or dependence on, pain medication.
Treating the Types of Headaches
Prevention of these headaches lies in avoiding their root causes, which could include any of the following:
slouching or poor posture
sitting too long or sleeping position
jaw clenching
nervous system dysregulation
food triggers or dehydration
What if a headache has already started?
A chronic headache can often be lessened with exercise and stretching of the neck and shoulders and increasing blood flow to the brain. A physical therapist can instruct you in properly performing the following stretches:
Chin tucks
Rotation with pressure
Cervical side bending
Upper trapezius stretch
Levator Scapula stretch
Don’t Give Up
If these suggestions don’t work for you, this doesn’t mean you must continue to suffer.
A 2002 research study in Spine demonstrated a significant decrease in headache frequency, intensity, neck pain, and analgesic use following manual physical therapy interventions compared to a control group. Whether headaches are an acute problem or chronic issue for you, don’t put off your life due to another headache.
If you have any questions about this topic, would like a more detailed explanation, or pictures of the stretches above, request a call from a doctor of physical therapy. This call is FREE and with no further obligation. Just follow the link below.
As physical therapists, we have seen firsthand the impact that arthritis can have on peoples lives. The pain, stiffness, and limited mobility can be debilitating, making even the simplest tasks feel like monumental challenges. But here’s the empowering truth: you don’t have to let arthritis dictate your life. Research has discovered a link between osteoarthritis and metabolic disease, allowing us new advances to naturally alleviate arthritis pain. There’s never been a better time to take control of your arthritis.
Recent studies have revealed a strong association between metabolic conditions such as obesity, diabetes, and dyslipidemia, and the development and progression of osteoarthritis. It explains a perplexing phenomenon we have seen many times in over 20 years in this field. Imaging, such as x-rays and MRIs, often are do not show a consistent correlation between joint damage and pain symptoms.
This means that someone with “bone on bone” may not have as much pain and someone with less damage. In addition, someone very young may have significant damage present while an active older adult may have joints that look half their age. So after all these years, we know that it’s not just wear and tear that causes arthritis. This is good news – because by addressing these underlying metabolic factors, we can not only relieve arthritis pain but also improve mobility and quality of life.
So, how as physical therapists can we use this new information help you on this journey? Let’s explore some non-invasive techniques that can make a world of difference:
Exercise Therapy
By engaging in regular physical activity, you can strengthen the muscles surrounding your joints, improve flexibility, and reduce pain. In addition, you can significantly improve insulin sensitivity and in turn metabolic health from even short bouts of exercise. From low-impact activities like swimming and cycling to targeted exercises prescribed by your physical therapist, there’s an exercise regimen that’s right for you.
Weight Management
We have known for a long time that if you’re carrying excess weight, shedding those extra pounds can significantly alleviate the stress on your joints and reduce symptoms. We now know that an increase in body fat also increases inflammation that causes further joint damage. Our Functional Nutritionist can work with you to develop a personalized fat loss plan that includes dietary changes, exercise, and lifestyle modifications.
Manual Therapy
Hands-on techniques such as joint mobilization and soft tissue mobilization can help improve joint function, reduce pain, and increase range of motion. Your physical therapist will use their expertise to gently manipulate your joints and tissues, providing relief where you need it most. This is the most effective place to start when pain is limiting mobility and the ability to exercise.
Nutrient-Rich Foods
Choosing nutrient-dense foods can be a powerful ally in your battle against arthritis. Incorporating anti-inflammatory foods such as fatty fish, colorful fruits and vegetables, nuts and seeds into your diet improves metabolic health and slows the progress of arthritis. Strategic supplementation with targeted nutrients can provide added support. Our functional nutritionist, can guide you in selecting supplements that align with your specific health goals.
Gut Health Optimization
Did you know that the health of your gut microbiome plays a crucial role in inflammation, metabolic disease, and joint health? By nourishing your gut with probiotic-rich foods, fiber, and fermented foods, you can cultivate a thriving microbial community that supports overall health and reduces arthritis symptoms. Got tummy trouble? That needs to be addressed in order optimize joint health as well.
Lifestyle Modifications
Simple changes to your daily routine can make a big difference in managing arthritis symptoms. From ergonomic adjustments at work to incorporating mindfulness practices into your daily life, our healthcare providers can help you identify lifestyle modifications that support your arthritis management goals.
By embracing these non-invasive techniques, you can take proactive steps to relieve arthritis pain, improve mobility, and enhance your overall quality of life. Remember, you’re not alone in this journey. Our team at Peak Potential are here to support you every step of the way, empowering you to reclaim control and thrive in spite of arthritis.
Are you ready to take the first step towards reclaiming control of your arthritis journey?
We can empower you to overcome arthritis pain, improve mobility, and embrace an active life of wellness. Inquire about availability and cost of physical therapy HERE (we accept most health insurance including Medicare).
Interested in improving metabolic health and get to the root cause of your gut, arthritis, or inflammation issues? Let’s work together to prioritize your health and transform your future. Schedule a free discovery call with our Functional Nutritionist and Health Coach HERE to embark on a personalized path to relief and vitality.
We are excited about these new advancements that will empower your journey to naturally alleviate arthritis pain!
You walk out of the gym with pride after completing a new or challenging workout, but find yourself barely able to walk the next day. It is not uncommon to feel strong today and then struggle with pain and stiffness a day or two later. However, it is possible to experience pain free fitness and we are here to teach you how to exercise without getting so sore.
First, let’s define what you are experiencing. These symptoms are called delayed onset muscle soreness (DOMS). The cause if frequently debated but our best research shows the discomfort comes from microtears in the muscle resulting in inflammation. This response by the body can cause decreased range of motion, muscle aches, joint stiffness, puffiness, and even pain (especially trying to go down stairs after leg day).
Knowing why this happens allows us to better prevent and treat the problem. There are simple steps you can take before, during, and after your workout to achieve pain free fitness.
What to Do Before Your Workout
Drink Water. Staying hydrated before, during, and after your workout will decrease cramps and your risk for injury.
Eat Protein. Amino acids from protein are the building blocks of muscle. By consuming foods high in protein you are giving your body what it needs to rebuild.
Warm Up. Before your workout, perform some dynamic stretching to prevent those microtears from turning into greater damage. Cold tissues are more vulnerable to injury.
What to Do During Your Workout
Correct Form. Consult with a personal trainer, work with a physical therapist, or watch trusted trainers online to be sure your form is accurate for each exercise.
Pace Yourself. Overexertion leads to the greatest discomfort. The only way to improve your fitness is to challenge yourself, but be sure to add to your workout gradually.
Static Stretching. End your workout with slow static stretches that expand your range of motion while your muscles are warm. It’s ideal to add some deep breathing.
What to Do After Your Workout
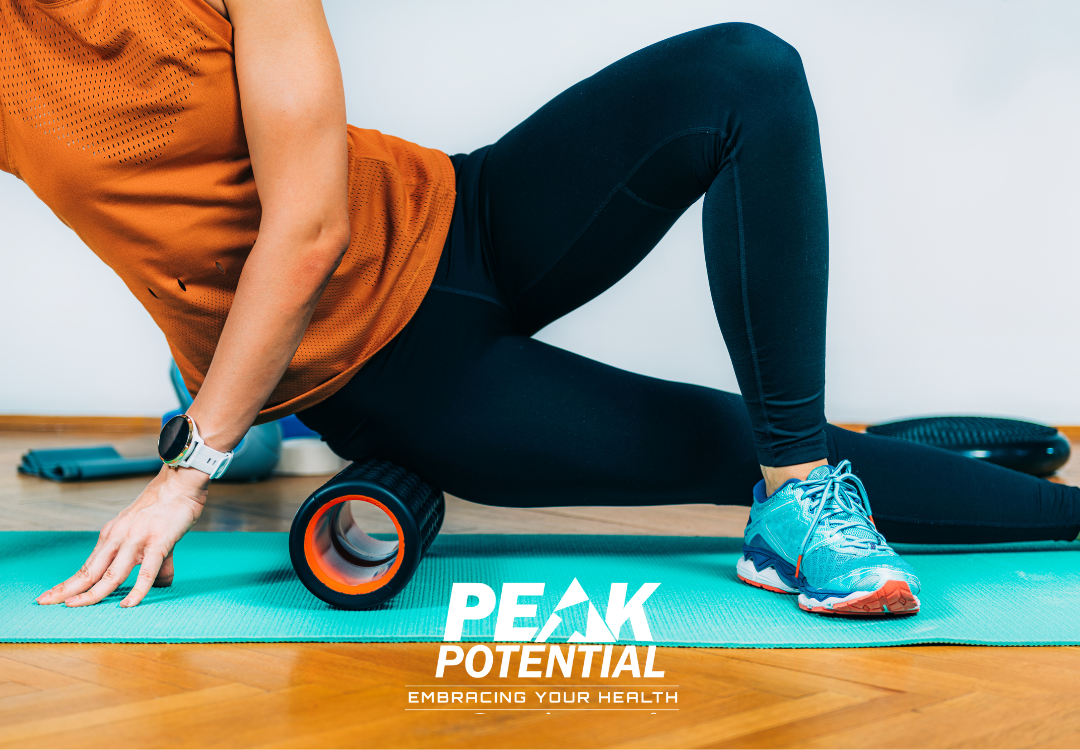
Keep Moving. You might sit at a desk or be tempted to hit the couch the rest of the day, but this will just make DOMS symptoms worse. Take short walk breaks and consider use of a Thera gun or foam roller to decrease muscle tension and improve circulation.
Replenish Electrolytes. Your body requires electrolytes, not just water, to keep tissues well hydrated and prevent cramping. Be sure your formula doesn’t include artificial ingredients and sugar that will add to inflammation (here is our favorite Rehydrate).
Sleep Well. Stick to a consistent bedtime routine and aim for 7-9 hours of sleep each night. This is the time your body does it’s best repair work and sleep deprivation can actually make your muscles weaker.
What the Pros Do
Contrast Showers. The pros will alternate between an ice bath and sauna, but similarly you can do contract showers alternating between moderately hot and cold water.
Supplement Wisely. There are resources your body needs to heal and recover optimally and with less discomfort. This may include antioxidant support, omega 3 fish oil to decrease inflammation, or my favorite creatine monohydrate for muscle rebuilding and resilience.
Increase Oxygen. Every cell of your body needs oxygen to heal. By delivering more to the area you can speed up the healing process and decrease pain. Professional athletes often utilize Hyperbaric Oxygen Therapy to reach peak performance (learn more about HBOT).
Try a few of these strategies and let us know how they work for you.
As always, it is important to distinguish between muscle soreness and injury that may require medical attention. If pain is sudden or severe while exercising, or if your symptoms last more than 3 days give your Doctor of Physical Therapy a call to have the problem evaluated (it’s easy to request a phone consult).
We are here to help you build muscle and stay fit without experiencing muscle pain. Listen to your body, respect it’s limits when necessary, and never hesitate to ask for help in order to lead an long and active life.
If you need a more personalized approach to recovery, or don’t know where to start on your fitness journey, Fitness & Nutrition Genetic Testing with our Integrative Health Coach is the ideal roadmap.
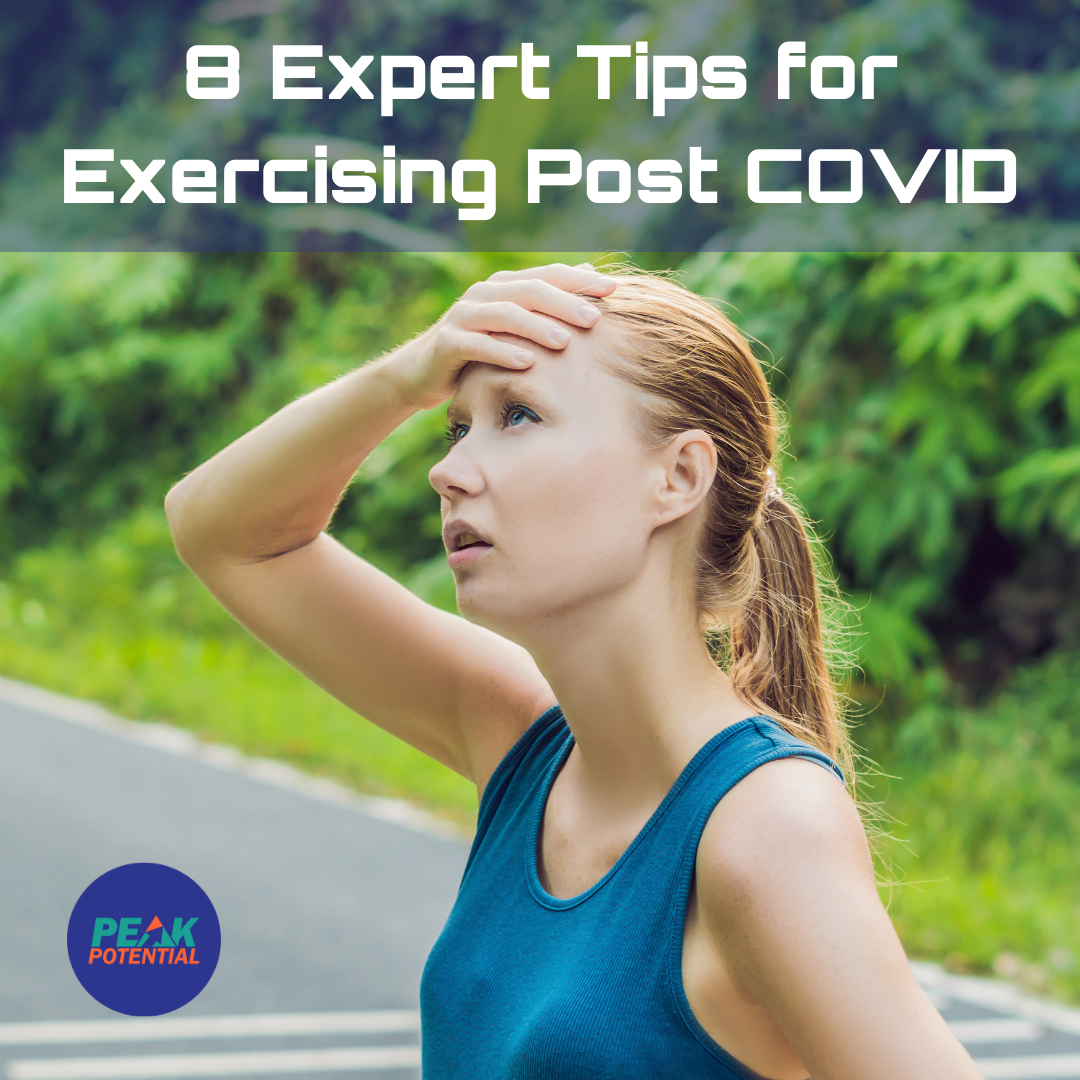
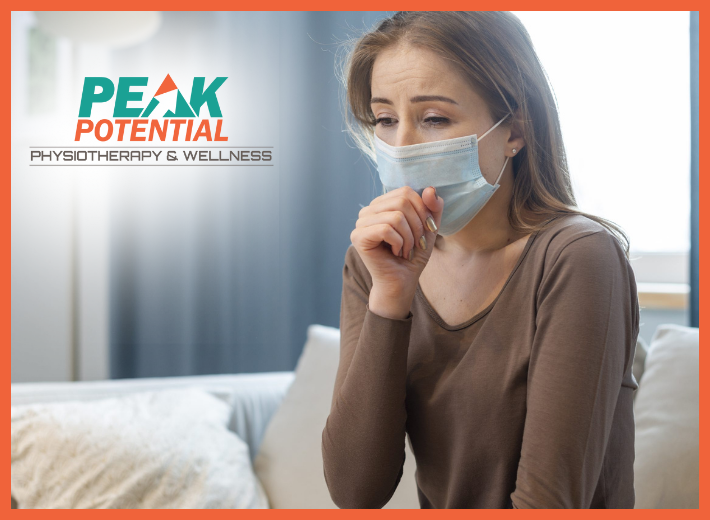
There is still so much that we don’t know about the impact of the coronavirus. One thing is certain, from the research and our first hand experience, millions of adults have had to change the way they exercise post COVID.
If you currently have COVID-19, the general recommendation is to wait two weeks before exercising. This period of rest will allow your body to fight the infection and reduce your risk of complications such as myocarditis (inflammation in the heart).
What do you do after two weeks have passed? I hate to say it, but it depends. Many people can resume their usual activities with no problem. Others require more time and additional precautions. And we see many people still struggling months later.
Lingering symptoms, including coughing, fatigue, an irregular heart rate, shortness of breath, aches, or pains can indicate long COVID (or long haulers) syndrome. If this is you, it’s time to discuss with your healthcare provider what the most safe and effective strategy is for you. As doctors of physical therapy, we are qualified to make these recommendations and guide you on this journey.
In general, the best place to start is with walking. It’s low impact and you are completely in control in how hard you push or how often you rest. It will begin to strengthen your muscles, including your heart. However, just a walk around the block can be a struggle for many so let’s get more specific about the safest way to get back to moving.
Tips to resume exercise post COVID:
Access Your Risk. The effects of COVID-19 vary widely, but are likely at low risk of exercise complications if you’re under 50 with no chronic conditions and had a mild case. Otherwise, check in with your healthcare provider to access if further testing is necessary.
Start out small. Once you’re able to resume your daily activities, start with a walk on a flat surface. Give yourself a break and allow your body to rest if you feel fatigued or short of breath. If you have difficulty making progress from this point, a post COVID rehab program is the next best step.
Check your posture. Working on postural strength and efficient movement allows you to maximize energy and protect yourself from injuries. During walking or exercise, keep your head up and firm through your core muscles. Keep yourself in a position that allows you to breathe easily.
Practice Breathing. Use your lungs and reduce stress with pursed lip and diaphragmatic breathing exercises. This increases oxygen transport to your muscles for increased endurance and decreased soreness. Consider hyperbaric oxygen therapy if fatigue or endurance is problematic for you.
Spend time outdoors. Time outside allows you to get moving, increase vitamin D, and enhances mental health. Do not underestimate the power of mental health in the process of recovery and performance. Pick a scenic route where you can enjoy fresh air, and green spaces.
Pace Yourself. Allow yourself to ease back into physical activity. Divide your workout into brief sessions of just 10 minutes. Try riding a bike or a rowing machine if weight bearing activities cause too much fatigue. Yoga and Pilates can be ideal movement practices if endurance is low.
Set goals. Increase your speed or distance a little each week working toward a larger goal. When you’re ready, climb up hills, or pump your arms more. If you hit a plateau in your progress and are unable to return to your prior level of fitness it’s time to get some expert guidance.
Seek out support. Listen to your body, so you can avoid pushing yourself too hard. Most people will be able to slowly progress back into their fitness routine, but some will find long COVID symptoms continue to limit them for months or even years.
When it comes to exercise post COVID, and goals to regain your fitness, it is not a matter of working harder but working smarter. Nutritional strategies, breathing techniques, postural training, supplementation, compression therapy, and oxygen treatments can set you up for success. That may sound like a lot of effort, but the results will be worth it.
We have a team of experts here to support you when you feel stuck. Even when the doctor doesn’t have a clear answer to why you still don’t feel well so long after recovery from your initial COVID illness, you can maximize your changes of a full recovery. A well researched and personalized rehab plan will protect your long term health and the lifestyle you love.
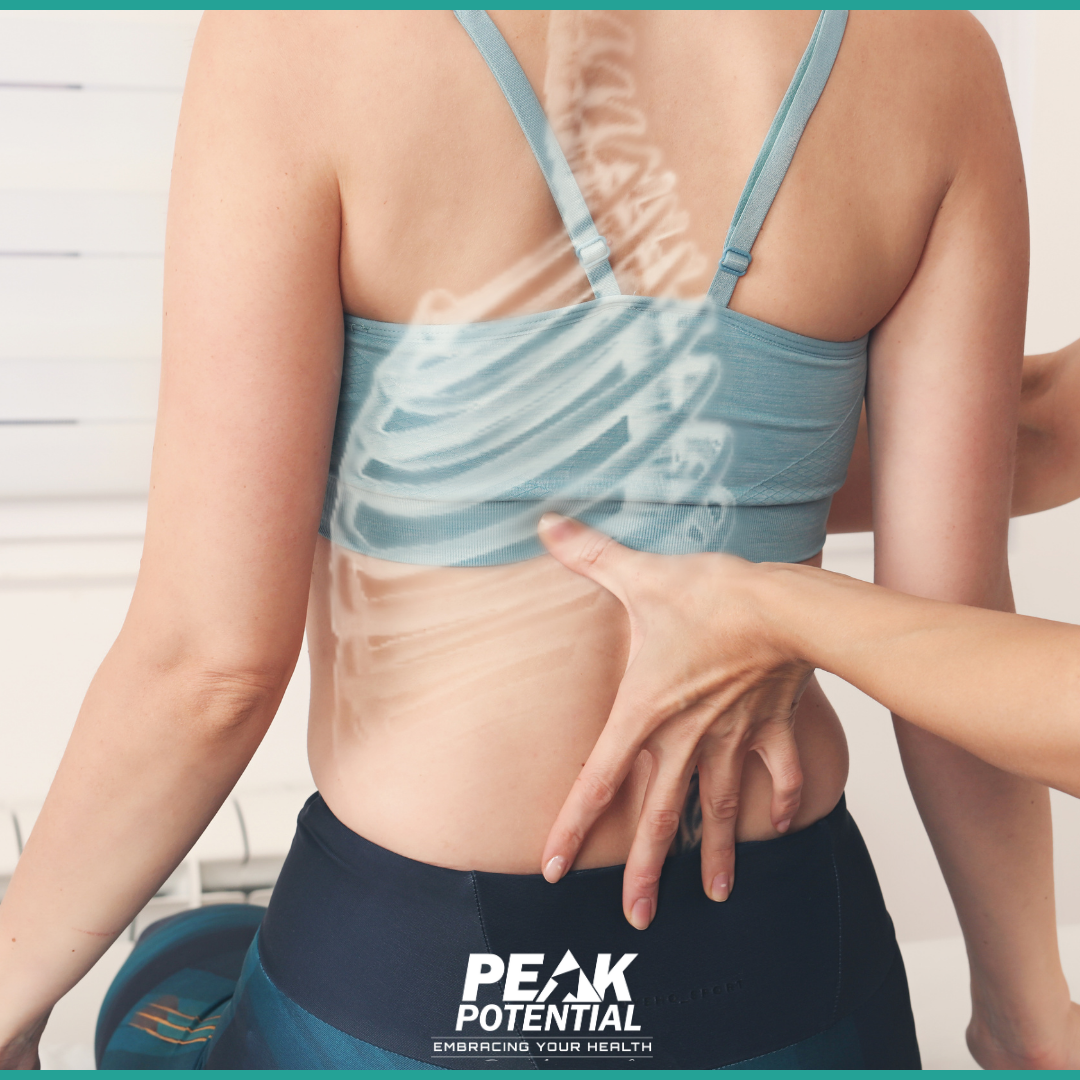
There was a time – not so long ago – that doctors recommended bed rest for patients with low back pain. We now know that may be the worst thing you can do for your back in the long run. If you follow current research you know it’s important to continue exercising with back pain.
Numerous studies have found that activities such as yoga, walking, or strength training can reduce back pain and disability dramatically. On the other hand, if it hurts to move, you could be afraid to even bend over to lace up your gym shoes.
Clients often tell us they feel trapped. They know that becoming stronger and more flexible will eventually provide relief, but it’s difficult to begin the healing process. Additionally, there is fear that they will cause further injury or another flare up when exercising with back pain.
The good news – you can learn how to shape up without aggravating your aching back. Yes, this is even true if you an MRI has shown a “bulging disc” or a doctor has diagnosed you with “degenerative disc disease”. You may be surprised at all the safe activities you can choose from and the modifications you can make to achieve your goals without pain.
As experts on back mobility and injury recovery we have 8 rules you need to following when exercising with back pain.
Strengthen Your Core
When you’re ready to work out, it’s essential to firm up your abdominals and other muscles in your torso that support your low back and stabilize your entire body. You’ll enhance your posture and lessen the strain on your back muscles and spine.
Target Your Back
When you are at a point that your back is less severe, you can begin exercises that will strengthen your back. Training for flexibility and strength will speed up your recovery and prevent a back injury from reoccurring.
Stretch Your Hips
Tightness in your hips often contributes to low back pain and can be a sign of pinched nerves. To open up that area and relieve the pressure, try gentle low lunges or rock back and forth while sitting on a foam roller. You can do this as part of your warm up routine.
Improve Circulation
Blocked arteries or poor blood flow can cause discomfort in your lower back. To improve circulation to your healing back muscles, add cardiovascular training to your strengthening routine. A short brisk walk or 20 minutes on the elliptical machine will increase blood flow to prime your body for the strengthening exercises that will follow.
Go Low Impact
Perhaps your exercise routine has always been a high impact aerobics class or running on the treadmill. In this case, you may want to consider going low impact for awhile to allow your body to fully heal before returning to these activities. Low impact exercise includes walking, Pilates, strength training, and cycling. You don’t have to pound the pavement to see results from exercise.
Stay Hydrated
A dehydrated body is much more prone to injury. Fluids help cushion our joints and allow our muscles to move with ease. Stay hydrated, not only during a workout but through the day to prevent pain.
Talk with Your Physical Therapist
Back pain comes in many different forms, from a pulled muscle to a sprained ligament to sciatica. A physical therapist that specializes in low back pain can help you identify the root cause of your back pain and advise you on whether you on the right amount of rest and the appropriate exercise.
Change Your Mindset
Changing your mindset makes any recovery process easier, especially if you’ve been sedentary up until now. We can’t think of exercise as an all or nothing thing. Distinguish between moderate exertion and overdoing it. It’s best to get moving (your body isn’t a fragile as it might feel) as long as you feel no acute strain.
If you feel stuck in the rut of back pain, please know that you can lead an active life without increasing your back pain. How can we be so sure exercising with back pain is a good idea? We see it EVERY SINGLE DAY in our clinic.
In fact, strong muscles and good posture will lessen your symptoms and reduce future flare-ups. With regular exercise, you’ll be able to manage your condition and resume doing the things you love.
The good news is that you don’t have to go it alone. A back pain specialist can help you naturally reduce your pain to allow you to move more. We then help you stretch and strengthen the right muscles to keep you going strong for years to come.
The first step to working out without back pain is reaching out to one of our back experts. We can help you decide if you are ready to jump in on your own or if you would benefit from some expert guidance to reach your goals without further injury. Click HERE to schedule a Free Call with a Doctor of Physical Therapy.
I know you may be zealous to start this year with a new or upgraded fitness routine. First, let me give you a virtual high five. I’ll also share some expert tips to recover from over exercising, because it’s likely to happen if you continue toward your goals.
Over two decades ago when I started my career in health and fitness I would have told you exercise is always good for you. Then I saw the other side. I saw the injury, the overuse, the burn out when clients took a good thing too far. Pushing yourself beyond your limits can cause fatigue and injuries and even suppress your immune system.
The good news is, you can continue to exercise, stay fit, and reach new goals for your body at any age or stage of life. However, it requires being intentional about two things – techniques to prevent overtraining and strategies to help you recover. If you are feeling sore during or after your workouts, the steps I outline below are critical to staying in the fitness game long term and reaching goals you may have never thought possible.
First, we must prevent overtraining.
Maintain Consistency. Gradual conditioning is the best way to prevent injury. Consistency allows your body to be prepared for the activity you are performing and helps you avoid weekend warrior syndrome.
Vary Your Routine. Varying the activities you perform also allows your body to adapt to new stressors and let other parts of your body have a little rest. It’s the best way to maintain consistency with exercised while not over training.
Stretch Daily. Take time for dynamic stretches before a workout to warm up your body. Static stretches are best at the end of a workout to regain muscle length, increase range of motion, and support recovery.
Clarify Your Priorities. Make exercise a priority in you agenda each week, but don’t let it take over. Maintain balance with spiritual, relational, and mental health supporting activities for overall wellbeing. Do not sacrifice health in any one area for another.
Then we must optimize our bodies ability to recover.
Allow your body to rest. There are lots of tricks that provide temporary relief for sore muscles, but rest is the best medicine of all. Your body uses the time in between workouts to heal and become stronger. Deep sleep is the time your body makes the most progress toward recovery.
Learn about delayed onset muscle soreness. Feeling sore for a day or two is normal as your muscles adapt. Our genetics play a role in how long it takes for our body to make these adaptations. By knowing how much time and what resources your body needs to fight soreness, you can make the most of your exercise efforts. Learn more about Fitness DNA testing HERE.
Stay hydrated. Water and electrolytes speed up the recovery process. The fluids flush waste products out of your muscles and make it easier for your blood to circulate. Sodium, potassium, and magnesium supply your body with the resources it needs make repairs.
Get a massage. Massaging sore muscles provides quick relief and may even make them stronger. Some studies show that massage reduces inflammation and helps cells take up more oxygen. This may be in the form of massage therapy, foam rolling, or use of a Thera gun device.
An active lifestyle keeps you looking and feeling better. Most experts agree that just 30 minutes of moderate exercise at least 3 days a week is the best place to start. If you have any questions about how much exercise is safe for you, request a call from a Doctor of Physical Therapy to discuss developing a safe regimen that will keep you fit and free from injury.
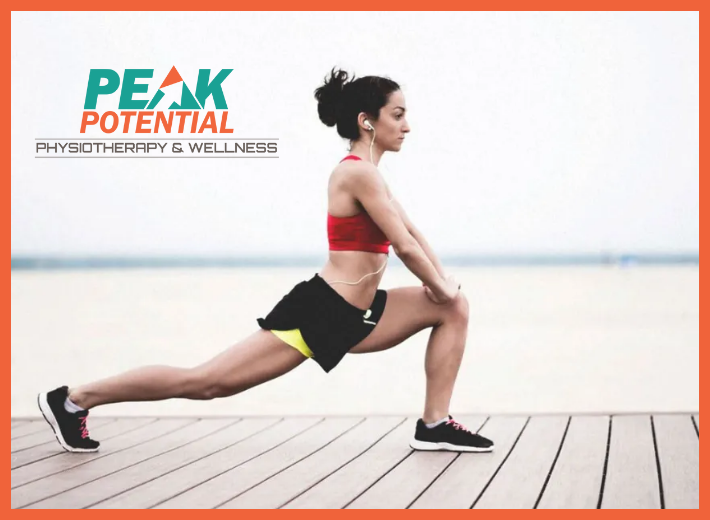
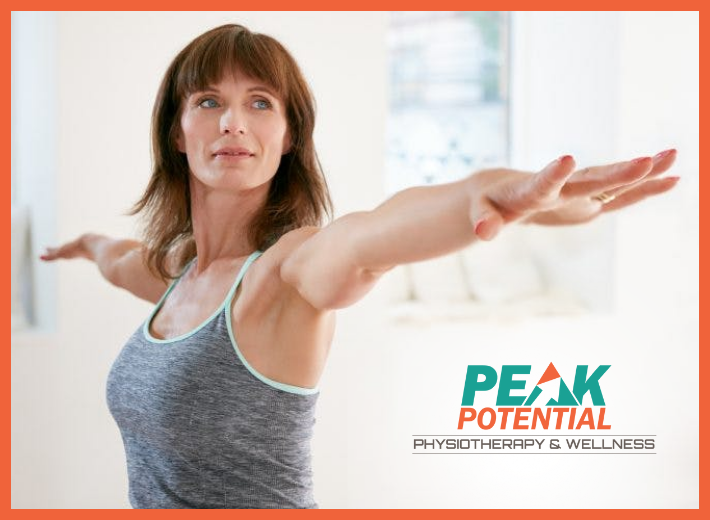
Strong, flexible leg muscles are essential for maintaining overall mobility and preventing injuries. If you’re looking to improve your daily movements, proper leg muscle stretching can make a significant difference in your overall well-being. Get ready to take a step towards greater flexibility, reduced tension, and a more active lifestyle with our guide. Come in and see us for personalized treatment to get your legs — and your whole body — stronger and healthier.
If you’ve ever gotten to a baseball game well before it started, you may have seen the players doing all sorts of leg stretches in the outfield. But you don’t have to be an athlete to stretch your leg muscles or benefit from doing so. The benefits are many and include:
Overall improved fitness
Enhanced ability to be more skillful at a particular sport
Increased relaxation
Reduced risk of injury
Reduced soreness
Increased flexibility
Types of Stretching
But before you start a routine, it’s helpful to know that there are several types of stretches, or flexibility exercises, like:
Static stretching. This is the most common. It’s done by extending the muscle as far as you comfortably can and holding the stretch for up to 30 seconds. There are two types of static stretches:
Active: You pull, or push, on the muscle to increase the intensity of the stretch.
Passive: Someone else applies force to the muscle, or you use something like a towel or elastic band to increase the intensity.
Dynamic stretching.This involves moving continuously to imitate a portion of the sport or exercise that you perform. For example, if you’re a runner, you could take slow strides in which you raise your knees to your chest and pump your arms slowly.Ballistic stretching. This type uses repeated bouncing movements, like dropping down into a crouch and then springing straight up into the air by pushing off on the balls of your feet repeatedly. This helps stretch your calf muscles. These normally switch between low speed and high speed. Doctors recommend you do static stretching before moving to ballistic stretches.Active isolated stretching.You do this for only 2 seconds at a time, but for several repetitions. At each interval, you should try to increase the degree of stretching by just a little bit.
Myofascial release.This is often done with the assistance of a hard foam roller. For example, you can sit on one so that the underside of your thigh, or your hamstring, is resting on the foam roller. Then you slowly roll back and forth over the roller, which helps relieve tension and improves flexibility in the muscle. While rolling you should cover 2 to 6 inches of your leg, for 30 to 60 seconds. If you’ve never used a foam roller before, have a trainer show you the right way to do it. There are also different yoga poses that can do the same thing for you.
Leg Muscles to Stretch
There are a number of muscles in your leg. Some of the most common ones that people stretch, or that you might find getting tight, include the following:
Calf: Often referred to as “the calf muscle,” it’s actually made up of two separate muscles, which are on the backs of your lower legs. In standing, the calf muscles help extend your leg and your foot.
Hamstrings:There are actually four hamstring muscles, which run along the back of your thigh. They start at the bottom of your pelvis, cross your knee, and end at the lower part of your leg. Hamstring muscles extend your knees and hips.
Quadriceps: There are four separate muscles that make up the quadriceps, which are in the front part of your thigh. In standing, the quadriceps help extend the knee and stabilize the hips and pelvis.
How to Stretch
Calf muscles:Shift your weight forward while stepping out with one leg in front of you. Keep your back heel on the floor.
Hamstrings:Put your legs out in front of you while sitting on the floor. Slowly and gently lean forward while keeping your back relatively straight.Quadriceps: While standing up straight, gently hold onto something stable, like a chair, for balance with your right hand. Bend your right leg up behind you and at the same time reach behind your back with your left hand to grasp your right ankle.
When to Stretch
Adults (who are not injured or doing rehabilitation) should try to do stretches 2 or 3 days per week and should:
Hold each stretch of a leg muscle for 10-30 seconds
Repeat each individual stretch two to four times
Do stretches when the muscles are warm, not cold. You can warm your muscles up by doing 5 to 10 minutes of light aerobic activity (walking, jogging, using an exercise machine) or even taking a hot shower or bath. It’s also a good idea to do some stretching after you’ve completed your cardio exercise. That’s because your muscles will be warm and stretching can be part of your cool-down activity.
What Not to Do
It is best not to stretch when your muscles are cold. That means don’t start stretching as soon as you get to the gym, or the moment you step onto the tennis court.
When stretching, some people may feel comfortable and relaxed, while others may push the stretch a little aggressively. However, when finished you should feel good. If not, you may be pushing too hard and placing yourself at risk of injury.
Additionally, tight muscles may be a sign of protection. Important to not just stretch but build strength so the muscle(s) can control the new stretched length. If weak, a stretched muscle, or the section of the body they control, is at risk of injury.
Enhance your mobility and well-being by incorporating leg muscle stretches into your daily routine. Our Physical Therapists are here to help with personalized guidance and expert support. Contact us today at 901.316.5456 to schedule an evaluation. Follow us on Instagram @peakpotentialpt for more tips and information on physical therapy.
Have you ever felt like life’s demands are pulling you in different directions, leaving you craving stability and equilibrium? We understand that achieving and maintaining balance isn’t just about physical posture; it’s a journey that impacts your entire well-being. Get ready to rediscover your center with our balance exercises for better health!
You may not think much about your balance—until you no longer have it, or you’re doing yoga and fighting hard not to topple out of eagle pose. But balance has to do with a lot more than just being able to stand on one leg in a yoga studio. Ultimately, it’s critical for everything you do, no matter your age or level of fitness. “Balance improves overall fitness, quality of life, and performance, and decreases risk of injury,” says Corey Phelps, personal trainer in Washington, DC, and founder of Cultivate by Corey.
Our under-appreciated ability to balance is a key part of what allows us to do everyday tasks, like walking, running, and getting up from a chair. Studies show that how well (or poorly) you perform these mobility skills strongly predicts how likely it is you’ll experience more serious events in the future, like falls, hip fractures, and hospitalizations, says Jonathan Bean, MD, MPH, professor of physical medicine and rehabilitation at Harvard Medical School.
“Balance, as it relates to function in daily life and activity, has more to do with the ability to quickly contract your muscles to stabilize or produce a desired movement,” says Joshua Bonhotal, MS, CSCS, strength coach and vice president of operations of Future Fit, a digital personal training service. “Having better balance means you’re able to stop under control, recover momentum, and react quickly. As you age, you lose your ability to perform the quick muscle contractions at twice the rate that general strength declines,” Bonhotal says. What’s more, if you’re not actively training to improve your balance, that decline could accelerate.
How Balance Actually Works
Balancing as we walk, run, jump, or stand requires muscle mass. In addition to giving us strength, our muscles help keep our bones and joints aligned so we remain upright. But balancing also calls for the interaction of three primary sensory systems: One is the visual, what we see—easy enough. Another is the somatosensory, which includes nerve receptors that enable us to feel and touch things and to have a sense of our body in space (known as proprioception). The third is the vestibular, a tiny but complex inner ear system that responds to gravity.
Input comes from all three systems, but for most of us, the dominant one is the visual. Seeing what’s in front of and around us triggers a series of neural messages that act as an immediate, reassuring fact-check: Everything in your environment is erect, pointing in the right direction, and therefore, you are too. “This is why so many people find it challenging to stand on one foot with their eyes closed,” says Fabio Comana, a lecturer at San Diego State University’s School of Exercise and Nutritional Sciences. “But that’s also why we’ll tell someone to close their eyes in balance training. If you take away the visual, the other two sensory systems can become stronger.”
Balance Changes as We Age
Accidental injuries are the eighth leading cause of death (right behind diabetes) for people 65 and older—but our balance can be compromised long before we’re eligible for Social Security. We may think of age-related balance challenges as the concern of sweetly unsteady grandparents, but as early as our 30s, we begin to lose that all-important muscle mass, as well as experience age-related deterioration in the visual, somatosensory, and vestibular systems.
“The decline is very gradual at the beginning, but by the time you hit 65, the curve drops steeply,” says Tanvi Bhatt, PhD, associate professor of physical therapy at the University of Illinois Chicago’s College of Applied Health Sciences.
Our visual acuity, including our depth perception and peripheral vision, begins to diminish, and “the proprioceptors embedded throughout the body become less sensitive,” Comana says. “So you’re not picking up information as quickly or as accurately, and you react more slowly to things that could make you fall.” Sensing our own slowness can make us apprehensive, which may be another reason the youthful spring in our step turns into a tentative shuffle. Also, vestibular nerve endings in the inner ear tend to degenerate over time.
To further complicate matters, technology is working against our balance, whatever our age. Blame it on the all-too-common habit of constantly staring into our phones. “One way we maintain balance is by looking at the horizon,” Comana says. “Typically in older adults, as their thoracic spine tends to hunch over, their field of vision changes.”
A crooked neck could make someone go from looking 300 feet ahead to 50. Plus, the physical misalignment weakens muscles and stability. But now, thanks to phones and computers, “these effects are becoming more evident in younger people—even the college students I teach,” Comana says.
How to Improve and Maintain Good Balance
The great news is, no matter how old you are, “with repeated practice, you can maintain or enhance your balance,” Bhatt says. It’s like learning to play an instrument. “You need to create appropriate neuromuscular connections—that is, links between your brain and muscles,” explains Jonathan Cane, an exercise physiologist and the founder of City Coach Multisport, an endurance-training service in New York City. “Then you need to practice to keep those connections from deteriorating.”
This is where balance training comes into play. While your balance will change from day to day—injury, muscular fatigue, soreness, and lack of sleep can all affect balance, Bonhotal notes—the key is to work on it regularly, daily if possible, but every other day at a minimum. You can start very small by standing on one leg while you brush your teeth, or try picking up dropped objects while keeping one leg elevated behind you (as you improve, challenge yourself by lifting the elevated leg even higher). If you’re short on time, space, or energy, an easy and effective balance builder is standing on one leg with eyes closed for as long as you can until you lose balance (time it!), then switch sides. Watch your time get longer with practice.
Generally, Bonhotal says you’re already getting a good dose of balance training if you’re doing moves like these when you exercise:
Single-leg exercises (like step-ups)
Exercises where you’re in split stances, like lunges
Exercises where the load is unbalanced, meaning you’re holding or moving a weight only on one side
Core exercises
If any of these are part of your regular fitness routine, you might only need five to 10 minutes of structured balance training on days you’re not doing any of them. But if you’re looking to get more targeted balance training into your life, here are more excellent exercises that specifically help build balance and stability.
Balance Exercises
Spinal Alignment
Experts agree that the first order of business is to make sure you can maintain a properly aligned spine to move effectively and without injury. To tell whether your spine is aligned, Comana says, “stand close to a wall, heels touching it. If you’re aligned, your tailbone, your shoulder blades, and the back of your head should all touch the wall in a neutral position, not tilted up or down.”
If, like most of us, you don’t touch the wall in all three spots, try this:
Grab a 36-inch foam roller or a rolled-up beach towel. Place it on the floor, then lie on it lengthwise so your head, spine, and tailbone all rest on top. (Your head should not tilt backward; if it does, place a firm pillow or second towel underneath it.) Bend your knees and rest your arms by your sides. Lie there for five minutes, allowing gravity to pull your shoulder blades down on either side. Try to practice this twice a day and repeat the wall check once a week until all the three points can touch.
Stationary Lunges
Start with feet hip-width apart. Step forward into a lunge, keeping your back heel off the floor. Bend both knees and lower your back knee toward the floor while keeping your spine straight. Lift back up into the starting position, then repeat with the opposite leg in front. Do 10 reps per side, alternating which leg is in front. (If you want, add in weights as you progress.)
Isometric Lunges (or Split Squats)
Start on the floor in a half-kneeling position, with your right knee and shin down and left foot planted firmly on the floor in front. (Check that both knees are at 90-degree angles and hips are aligned.) Keeping your right foot on the ground, bring your right knee just barely off the ground and hold this position (it will look like the bottom half of a stationary lunge). As you hold, keep the chest lifted so shoulders stay in line with hips.
Start by holding for five to 10 seconds per leg, building to 30 seconds without having to rest. Do two to three sets per leg. For more of a challenge: Work your way up a little bit at a time until you can hold for five minutes per leg.
Single-Leg Romanian Deadlift
Start with feet hip-width apart. If you can, balance on one foot. If you feel unsteady, begin by placing one foot about two foot-lengths behind the other. The knee of the supporting (or front) leg should be slightly bent. Maintain a straight back and hinge from the hips while reaching forward with both arms extended toward the floor. Return to standing position and repeat on the other foot. (If you want, add weight as you progress.)
High Plank With Shoulder Taps
Start on the floor in a high plank position with your hands positioned slightly wider than your shoulders. (To make it easier, bring knees down to the floor like you would for a modified push-up position). Brace your core, lift your right hand off the ground and tap your left shoulder. Slowly release your hand right to the ground and switch sides, continuing to alternate tapping one hand to the opposite shoulder. Try not to let your weight shift or hips rock from side to side. Do 10 reps per side.
Struggling to maintain balance? Position your feet wider. For more of a challenge, bring your feet together or do the exercise with one foot off ground.
Bird Dogs
Start on all fours with wrists aligned under your shoulders and knees aligned under your hips. Engage your core and lift and extend your left arm forward as you simultaneously extend your right leg behind you. Keep your back flat like a table and straight, not rotated, even as you raise each leg (it’s helpful to do this move in a mirror). Hold for five counts. Repeat with the opposite arm and leg. Alternate sides, doing five reps on each side.
Curtsy Lunge With Oblique Crunch
Stand with your feet hip-width apart and touch your fingertips to your ears with elbows out wide. Cross your right leg behind you and lower the right knee until it’s about 1 to 3 inches off the ground (this is a curtsy lunge).
Keeping weight and balance on your left leg, rise and bring your right leg up toward your right elbow (careful not to rotate the hips), bending your torso slightly to the right (into a standing oblique crunch). Release to start and repeat 12 times. Switch sides and repeat.
Standing Crunch With Under-Leg Clap
Stand with your feet together. Shift your weight to the right foot and lift the left leg in front of you to hip height, with your knee bent to a 90-degree angle. Lift your arms straight overhead and press your hands together. Bend your torso forward as you clap your hands under your left leg then release and bring your arms back up overhead, keeping your left knee raised. Repeat 10 claps on one side (without putting your left foot down). Switch sides and repeat.
Start your journey toward balance today! Join us at Peak Potential PT and experience the transformative effects of expert-guided balance exercises. Call us today at 901.316.5456 to schedule an evaluation. Follow us on Instagram @peakpotentialpt for more tips and information on physical therapy.
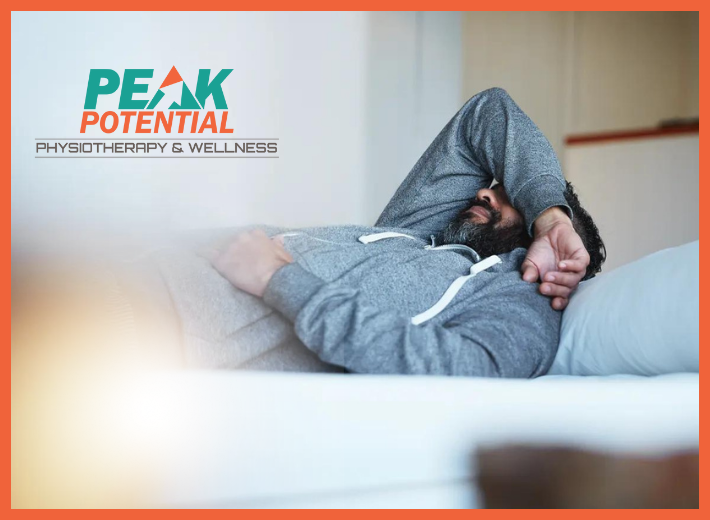
Long COVID, also known as post-acute sequelae of SARS-CoV-2 infection (PASC), is a complex and debilitating condition that affects individuals long after their initial recovery from COVID-19. Understanding and addressing the challenges of long COVID recovery have become crucial as the world navigates through this unprecedented time. The challenges faced by individuals experiencing Long COVID range from cognitive issues (like forgetfulness and brain fog), dizziness, dysautonomia, dysregulation of heart rate (POTS) or blood pressure (orthostatic hypotension), shortness of breath, gastrointestinal disorders, physical or mental activity intolerance, low-grade fever, muscle weakness or joint pain. The good news is that there are therapy treatments available to help support those experiencing this syndrome.
Long COVID manifests as a range of persistent symptoms, including extreme fatigue, brain fog, shortness of breath, muscle and joint pain, and mood disorders. These symptoms can significantly impact an individual’s quality of life, making it difficult to perform daily activities and return to pre-COVID levels of functioning. Moreover, the unpredictable nature of symptoms and their fluctuating intensity can make it hard to plan and maintain a consistent recovery path.
Recovering from long COVID requires a multi-faceted approach that addresses both the physical and mental aspects of the condition. Seeking medical guidance from professionals who specialize in long COVID is crucial for proper diagnosis, monitoring, and treatment. Specialists can help develop personalized recovery plans that may include physical therapy, cognitive rehabilitation, and psychological support.
Professional support systems play a vital role in long COVID recovery. The World Health Organization states that a patient-specific rehabilitation program, combined with nutritional optimization and lifestyle counseling will lead to a more rapid improvement in functional performance and long-term outcomes. Some of the techniques our team provides include:
Physical Therapy Evaluation to identify the systems involved, the impairments that need to be addressed, and to design a personalized plan to meet the client’s needs.
12-week personalized treatment protocol (insurance coverage may vary).
Patient education and resources will be provided on avoiding exacerbating symptoms, breathing techniques, improving vagus nerve function, and creating immune resilience.
Training with our certified exercise physiologist to rebuild exercise tolerance and strength.
Athletic training to return to sports performance or fitness hobbies.
Modalities to improve peripheral vascular and nervous system function such as compression therapy, H-wave, and Hyperbaric Oxygen Therapy.
Nutrition and supplementation consultation, lifestyle modification, and functional nutrition coaching.
While the challenges of long COVID recovery can be overwhelming, there is hope for improvement and restoration of health. Staying informed about the latest advancements can offer optimism and inspire individuals to explore different avenues of recovery. Partnering with our team can help patients to navigate and manage symptoms.
The journey of long COVID recovery is undoubtedly challenging, but with the right support, and self-care, individuals can find their way to a brighter future. If you are living with Long COVID connect with our team through our socials or give us a call at 901.316.5456 to see how we can support you in your recovery.